User manual
-
Key areas of Digimap for Schools
-
About the maps
-
Navigating in Digimap for Schools
-
Search
-
Map selector
-
View the compass
-
Save maps
- Drawing Tools
-
View Geograph images
-
View map keys
-
Overlays
-
Measure distance and areas
-
Capture geographic coordinates
-
Add your own data
-
Print maps
-
Map information
-
Edit your preferences
-
Tips and tricks
-
Try it out!
Add text
Table of Contents
The Drawing Tools offer two options for text; labels and text boxes.
Add labels
- Open the Drawing Tools in the sidebar.
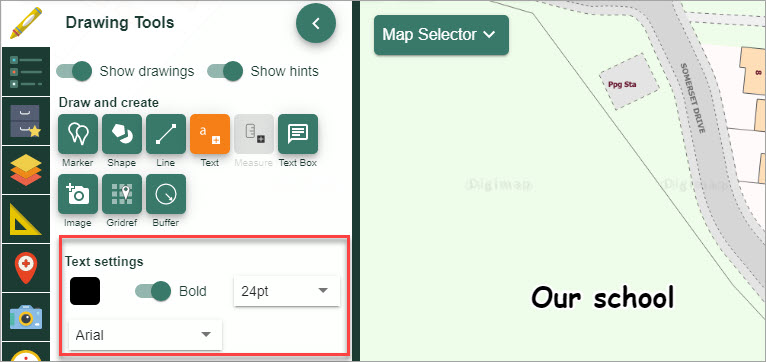
- Select the Standalone label tool (highlighted in orange on image below).
- The text settings appear - select: colour; bold/regular font, font size, font.
- Now select the point on the map window where you want to place your label.
- Type the required text in the box.
- Select OK.
- Your label should be visible on the map window.

Add text box
- Open the Drawing Tools.
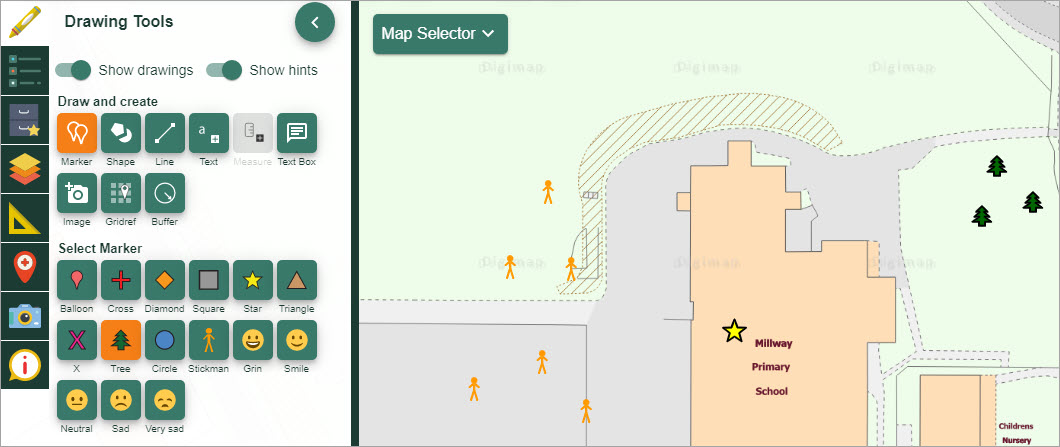
- Select the Place text box tool (highlighted in orange on image below).
- Select a marker (the text box has a line with a marker attached).
- Now select the point on the map window where you want to place your box.
- Type the required text in the box.
- Select OK.
- Your box should be visible in the map window.
- NOTE: there are no options to select style and size of your text.

Resize text box
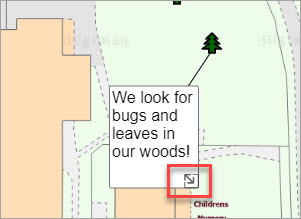
You can resize your box by pulling the double arrow at the bottom right of the text box.

Add measurement labels
- Draw a shape or line on the map window.
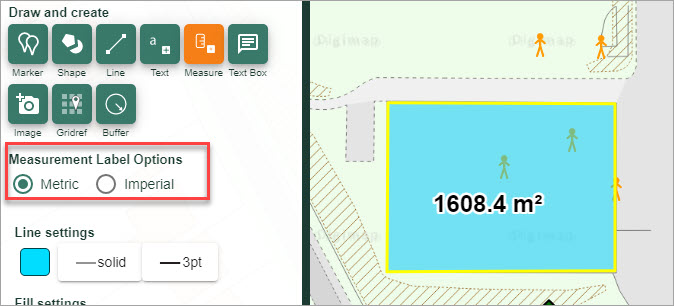
- Select the Measurement button (highlighted in orange on the image below).
- Select Metric or Imperial.
- Select the shape or line to add a label to…in the image below, we’ve added a label to a polygon that we added.
- Your label should be visible on the map window.
- NOTE: You can only add measurement labels to lines or shapes that you have added, not features on the actual map.


